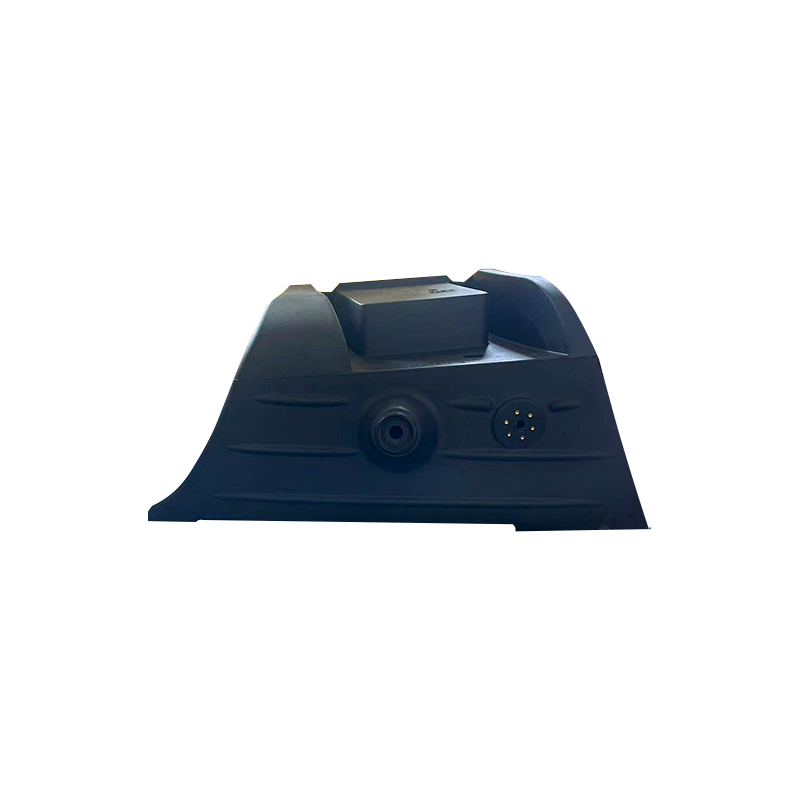
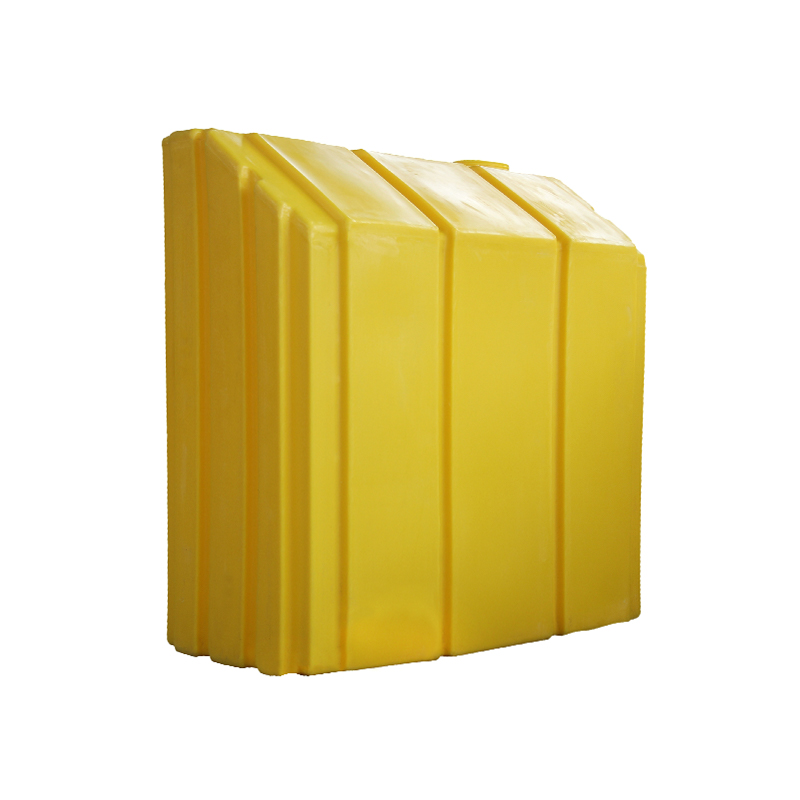
How to properly install a LLDPE RV solution tank for safe and effective use?
1. Choose a suitable location
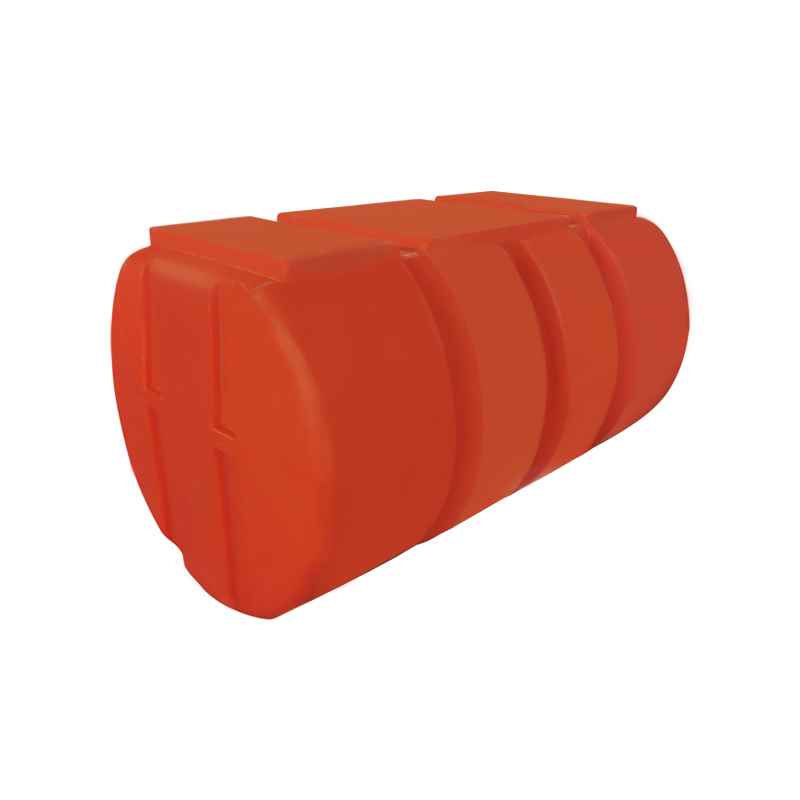
Choosing a suitable installation location is the first step to ensure the safe use of the Rotomolding LLDPE RV Fresh Water Tank.The ideal installation location should have a horizontal plane to ensure the stability of the clean water tank. It is usually recommended to install the clean water tank close to the water pump, which can minimize the length of the water pipe and reduce the water flow resistance, thereby improving the water flow efficiency. To prevent the water tank from shifting or being damaged due to vibration during driving, ensure that it is firmly installed. The installation location should avoid direct sunlight or extreme temperature environments. Strong sunlight may cause aging and embrittlement of LLDPE materials, while high temperatures may deform the water tank and affect its service life. The ideal installation location should be in the interior space of the RV, away from engine heat sources and humid areas, while being convenient for future inspection and maintenance.
2. Check the clean water tank and accessories
Before installing the LLDPE RV clean water tank, it is crucial to conduct a comprehensive inspection. This includes checking the appearance of the clean water tank itself to confirm that there are no scratches, cracks or other damage. For accessories, such as valves, joints and pipes, make sure they are all intact and meet the standards of the RV water system to ensure sealing and reliability when connected. Especially for valves, ensure that they can be opened and closed flexibly without any obstruction and without any jamming. Using high-quality accessories can help reduce the risk of water leakage and the trouble of subsequent maintenance. If any parts are found to be problematic, replace or repair them in time to avoid unnecessary troubles in subsequent use. Good inspection habits can not only improve the efficiency of installation, but also improve the reliability of the entire water system and ensure that there are no unexpected situations during use.
3. Fix the clean water tank
After determining the installation location, it is very important to use appropriate fixings to firmly fix the LLDPE clean water tank. When installing the bracket, ensure that its material is corrosion-resistant and can withstand the weight of the water tank and the vibration and impact that may occur during driving. When fixing, durable materials such as stainless steel bolts and nuts can be used to ensure that it will not rust after long-term use. The fixing of the clean water tank can not only prevent its movement during driving, but also reduce the impact of vibration on the water tank, thereby extending its service life. The fixing device should be designed reasonably so that the clean water tank can be easily disassembled and maintained when necessary. After installation, check whether the fixing is firm to ensure that the water tank can withstand all stresses under normal use conditions to ensure the safety of users and convenience of use.
4. Connect the water pipes and valves
When connecting the water pipes and valves, you should carefully follow the design plan of the clean water system. First, make sure to use suitable water pipes that meet the standards of the RV and can withstand high temperatures and high pressures. Before connecting, check the joints at the ends of the pipes and the clean water tank to ensure that their surfaces are smooth and free of burrs. Use sealing materials such as polytetrafluoroethylene (PTFE) tape to wrap the joints to ensure the tightness of the connection and prevent water leakage. When connecting, avoid applying excessive force to avoid damaging the joints or pipes. After completing the connection, ensure that all valves are opened and closed in the correct direction for easy operation. When testing the system, gradually increase the water flow to ensure that there is no leakage at all connection points, and observe whether the valves can be opened and closed smoothly during the process. A good connection not only improves the overall efficiency of the system, but also ensures safe use.
5. Check the drainage system
While installing the clean water tank, it is equally important to design the drainage system reasonably. The setting of the drain outlet should ensure that the sewage can be discharged smoothly to prevent sewage or pollutants from flowing back into the clean water tank. Make sure that the drainage pipe has enough inclination to allow the water to drain naturally and avoid water accumulation. When installing the drain valve, ensure that its position and direction are reasonable to facilitate future operation and cleaning. Check the status of the drainage system regularly to ensure that there is no blockage or leakage. If poor drainage is found, it should be cleaned and maintained in time to avoid affecting the use of the clean water tank. A well-maintained drainage system can not only improve the use efficiency of the water tank, but also ensure the hygiene of the water quality and extend the service life of the equipment.
6. Test the system
After completing the installation, system testing is a key step to confirm that the clean water tank and its accessories are working properly. First, inject a certain amount of water into the clean water tank to observe whether there is any water leakage. Focus on checking all connection points, including the water pump, valve and drain port, to ensure good sealing. Then, you can start the water pump to ensure that the water can flow out smoothly and confirm that the system is in normal working condition. During the test, pay attention to monitoring the water pressure to ensure that it is within the normal range. Especially during the initial test, it should be carried out in a safe environment to avoid unexpected situations caused by equipment failure. If any problems are found, the defective parts should be adjusted or replaced in time. After the test is completed, record the test results for subsequent maintenance and reference.
7. Record installation details
After installation, it is very important to record the installation details of the clean water tank in detail. This includes the installation location, the layout of the connecting pipes, the materials used and any special precautions. This will not only help with future maintenance and repairs, but also allow for quick troubleshooting when needed. For example, if a leak occurs in the future, the record can quickly locate the possible fault point and improve the efficiency of repair. Maintenance records also help users better understand the use and repair history of the equipment. When necessary, these records can also be used to apply for guarantees and services in order to obtain better technical support and service guarantees.
8. Regular inspection and maintenance
During use, regular inspection and maintenance should be carried out to ensure the normal operation of the LLDPE RV clean water tank. Regularly check the appearance of the clean water tank to confirm that there are no cracks, deformations or other damage. In particular, check the seals connected to the pipes to ensure that there are no leaks. If any problems are found, they should be dealt with in a timely manner to avoid losses. At the same time, regularly clean the inside of the tank and the pipes to prevent the growth of dirt and bacteria. Special detergents and warm water can be used for cleaning, and avoid using chemicals that will damage the materials. Keeping the clean water system clean will help extend the life of the clean water tank and ensure the water quality is safe. Regularly check the working condition of the water pump and valves to ensure that they can function properly when needed. Through systematic inspection and maintenance, the overall performance of the clean water tank can be effectively improved, ensuring the safety and reliability of the water source for RV travel.


 English
 عربى
عربى
